Embarking on the Journey of Travel Photography

Welcome to the world of travel photography! If you’ve found yourself bitten by the travel bug and the photography bug at the same time, you’re in for an exhilarating journey. Before you pack your bags and head off to your next adventure, let’s dive into the essentials of gear and techniques to ensure you capture the best memories. Delve into the realm of travel photography with our detailed guide. Featuring Camera Advice For Beginner Travel Photographers, master the art of capturing your adventures with informed choices and expert techniques.
1. Choosing the Right Camera
Travel photography is unique; it’s about capturing a moment, an essence, a story. With so many camera options available, how do you pick the right one?
A. Best Cameras for Beginner Travel Photographers
When starting, you don’t need the most expensive camera. Look for user-friendly models with good image quality. Brands like Canon, Nikon, Sony, and Fujifilm have excellent beginner-friendly models.
B. Cheap vs. High-end Cameras
Expensive doesn’t always mean better, especially for beginners. Start with an affordable model. As you gain experience, you’ll understand what specific features you might need in a higher-end model.
D. Compact vs. DSLR
While DSLRs offer versatility with interchangeable lenses, compacts are pocket-friendly. Think about your travel style. Will you be hiking or exploring cities? Your activities can guide your choice.
C. The Appeal of Lightweight Cameras
Heavy gear can be a hindrance on the road. Mirrorless cameras offer high quality in a smaller, lighter package than DSLRs. Consider these if you prioritize mobility.
E. How to Choose a Camera for Your Travel Needs
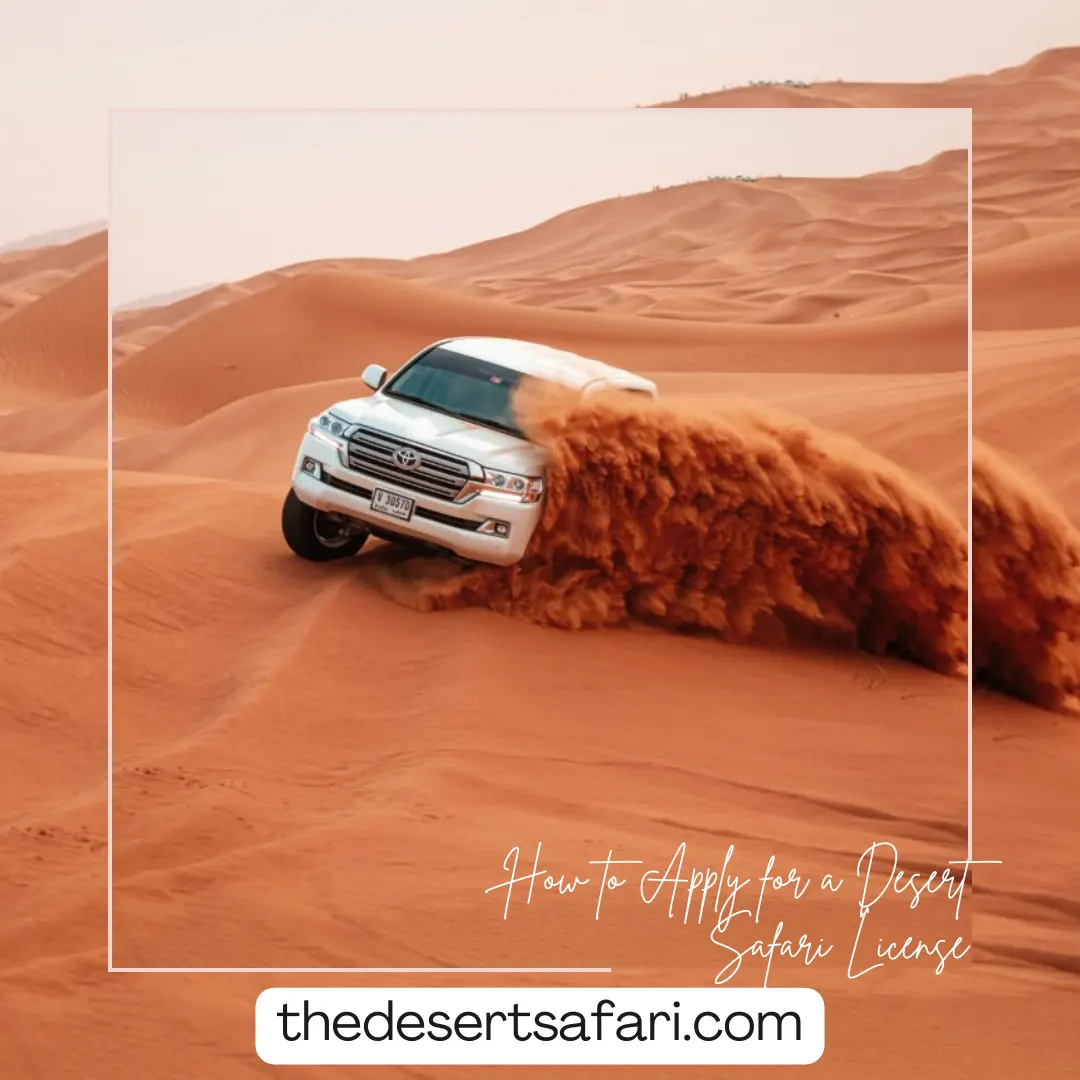
Think about your destinations. Will you be in rainy jungles or sandy deserts of Dubai? Some cameras are better suited for rugged conditions. Read reviews, ask fellow travelers, and consider the type of photos you want to capture.
2. Lenses and Their Importance
Lenses can be just as crucial as the camera body, if not more.
A. Best Lens for Travel Photography
A versatile zoom lens, like an 18-55mm, is great for beginners. It’s flexible for landscapes, portraits, and everything in between.
B. Essential Lenses Every Travel Photographer Should Consider
Apart from the standard zoom lens, a prime lens (like a 50mm) can offer sharper images and is great for low light. As you progress, you might also consider a wide-angle or a telephoto lens for more specialized shots.
3. Delving into Camera Settings
Understanding your camera’s settings is key to capturing those breathtaking shots.
A. Camera Settings Ideal for Travel Photography
For most scenarios, using the ‘Aperture Priority’ mode is a good start. This allows you to control the depth of field while the camera adjusts the shutter speed. A wide aperture (like f/2.8) blurs the background, while a narrow one (like f/16) keeps everything sharp.
B. Importance of Understanding Manual Settings
While automatic modes can be handy, they might not always get it right, especially in challenging light conditions. Learning manual settings gives you full control. Adjusting shutter speed can help in capturing motion, while ISO control can assist in darker environments.
4. Techniques and Composition
Photography, at its heart, is an art. Technique and composition can set apart a good photo from a great one.
A. Tips for Taking Better Travel Photos
- Rule of Thirds: Imagine a grid on your frame and place key subjects on the intersections.
- Leading Lines: Use natural lines to lead the viewer’s eye into the image.
- Golden Hour: Capture scenes during sunrise or sunset for soft, golden lighting.
B. Travel Photography Composition
- Perspective: Change your viewpoint. Sometimes, kneeling or climbing higher can offer a fresh angle.
- Background: Ensure it’s not too cluttered, unless the chaos tells a story itself.
- Balance: Distribute elements evenly in the frame to create a harmonious image.
C. Techniques for Photographing Local Cultures and Traditions
Always approach with respect. Ask for permission before taking close-ups of locals. Capture candid moments from a distance, and always be aware of local customs and sensitivities.
D. Desert Photography Techniques and Tips
Deserts offer vast landscapes and unique challenges.
- Protection: Sand is a camera’s enemy. Use lens hoods and keep your gear in sealed bags when not in use.
- Timing: Sunrise and sunset in deserts can offer dramatic shadows and hues.
- Hydration: It’s not about your camera, but about you. Always carry water!
5. Editing and Post-Production
Once you’ve clicked your shots, it’s time to refine them.
A. Basics of Travel Photography Editing
Editing isn’t about altering reality but enhancing it. Tools like Lightroom or Photoshop can help adjust brightness, contrast, and colors to make your images pop.
B. Recommended Travel Photography Editing Tools
- Adobe Lightroom: Great for color correction and basic edits.
- Photoshop: For more in-depth editing and manipulation.
- Snapseed: A handy mobile app for quick edits on-the-go.
6. Preparing for Your Travel
Proper preparation can make the difference between a smooth photography journey and a challenging one.
A. How to Pack Your Camera for Travel
Safety first! Use padded bags or camera cases. Consider compartmental bags that allow you to separate bodies, lenses, and accessories. Also, always pack extra batteries and memory cards in easily accessible pockets.
B. Protecting Your Camera While Traveling
Weather-sealed cameras are great for unpredictable conditions. However, irrespective of your camera type, invest in rain covers and protective filters. For desert environments, consider dust-proof bags and silica gel packets to combat moisture.
C. Challenges of Desert Photography
Apart from sand, the intense sunlight can play tricks on your camera sensors. Use lens hoods to prevent lens flares and UV filters to protect the lens. we have one Guide about the desert safari photography ideas, you can check that also.
D. Travel Photography Insurance
Your gear is an investment. Insuring it can save you from potential heartaches. Look for plans covering theft, damage, and even some that cover accidental drops.
7. Additional Resources for Travel Photographers
The journey of a travel photographer is one of continuous learning.
A. Top Travel Photography Workshops
Workshops can be invaluable. They offer hands-on experience, mentorship, and networking opportunities. Check platforms like 500px or local photography clubs for upcoming workshops.
B. Must-read Travel Photography Books
Books offer a deep dive into techniques, compositions, and stories of seasoned photographers. Some recommendations include “The Travel Book” by Lonely Planet and “National Geographic: The Photographs.”
C. The Importance of Continuous Learning
Travel photography, like all arts, evolves. Stay updated with the latest techniques, gear, and trends by following photography blogs, attending webinars, and engaging in online communities.
Conclusion
Travel photography is not just about capturing images but experiences, stories, and moments. As you embark on this beautiful journey, remember that every photo has a story, and with the right tools and knowledge, you can tell yours in the most captivating way. Here’s to many adventures and breathtaking shots


